This week got off to a relatively slow start for getting crafts done, but I was able to get several done by the end of the week.
Fall/Thanksgiving Sign
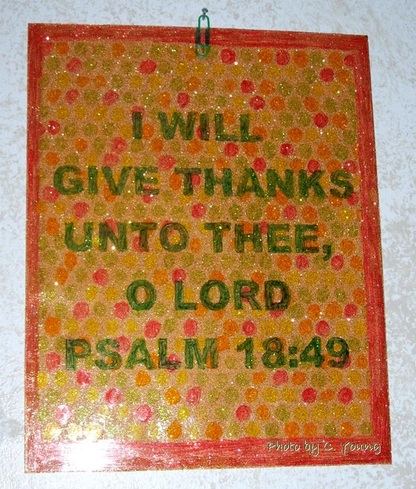
The first was this sign which I made on a piece of plastic that had been in a picture frame that I used for another project. This is fairly heavy duty plastic, so it makes a good, strong sign. The border, writing, and polka dots were all made with permanent marker. The border is red and the dots are yellow, orange, light green and red to keep with a fall/Thanksgiving theme. The words were written with dark green permanent marker. Behind the plastic is gold sparkle paper which I got at WalMart -- two large sheets for $1.00. If your WalMart has a craft section you might find them there. To keep the polka dots even, I placed a piece of bubble paper behind the plastic and used the bubbles as a guide for where to place the polka dots. Here is the finished project!
Fall/Thanksgiving Sign
The first was this sign which I made on a piece of plastic that had been in a picture frame that I used for another project. This is fairly heavy duty plastic, so it makes a good, strong sign. The border, writing, and polka dots were all made with permanent marker. The border is red and the dots are yellow, orange, light green and red to keep with a fall/Thanksgiving theme. The words were written with dark green permanent marker. Behind the plastic is gold sparkle paper which I got at WalMart -- two large sheets for $1.00. If your WalMart has a craft section you might find them there. To keep the polka dots even, I placed a piece of bubble paper behind the plastic and used the bubbles as a guide for where to place the polka dots. Here is the finished project!
Light Jar with Glitter and Gems
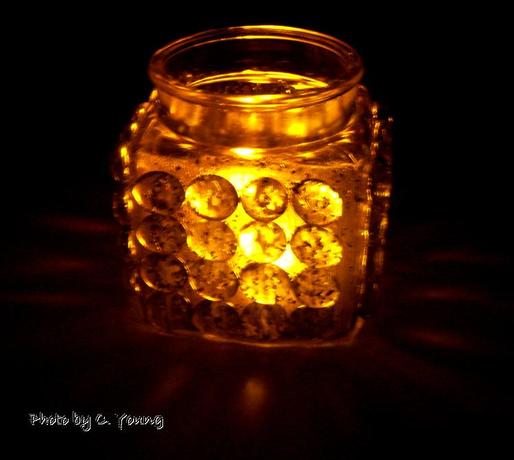
Perhaps one of my favorite crafts this week was this jar. First I painted the jar with colored ModPodge which I colored with food coloring. It was supposed to be black but ended up being a very dark green. I had read somewhere that to make black food coloring, one has only to put equal amounts of each color. I tried that but ended up with dark green food coloring instead of black. So, I added a little black paint. This made the ModPodge almost black but still transparent.
Once the ModPodge dried, I painted over it with a layer of Tulip brand fabric sparkle paint and then sprinkled on a little glitter in gold, silver, and red. On top of this, I glued on clear gems, 16 on each side for a total of 64 gems.
I tried using this jar in two ways:
1. With two tea lights inside
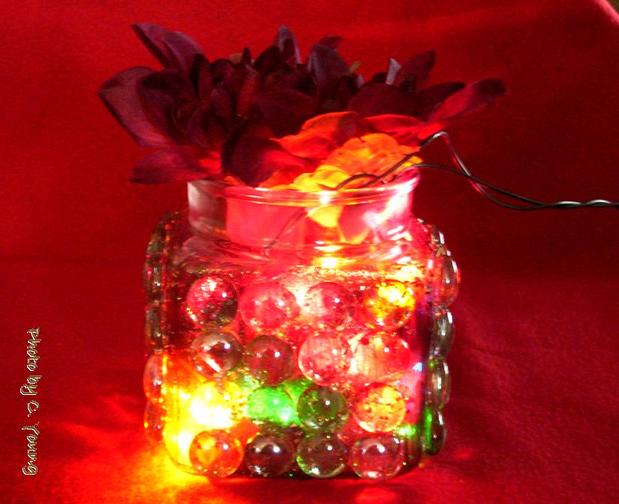
2. With colored lights and flowers inside and two flowers on the top. I just took a stem of flowers and trimmed the flowers and leaves off near the top and put them in the jar along with the lights. It came out quite pretty.
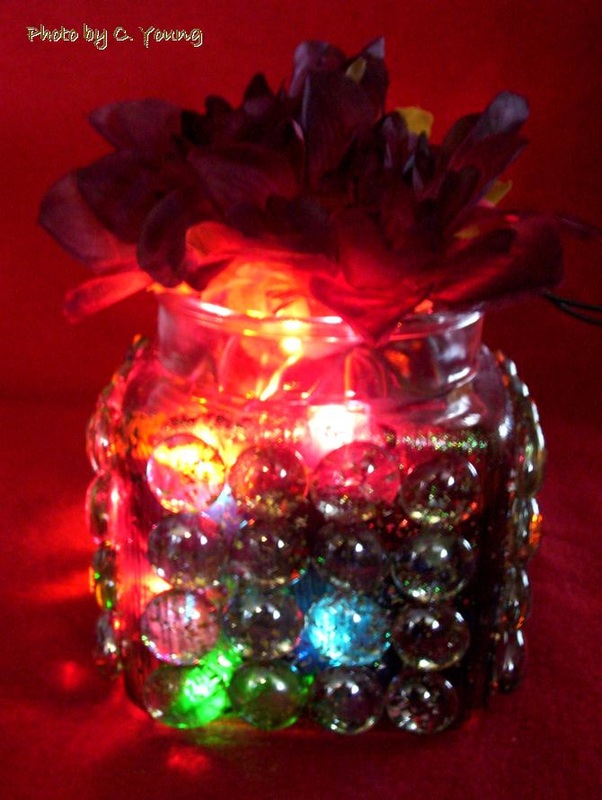
Different colors of lights show depending on which way I turn the jar.
If anyone local is interest in the jar, I will sell it for $10 with the tea lights or $12 with the colored lights and flowers.
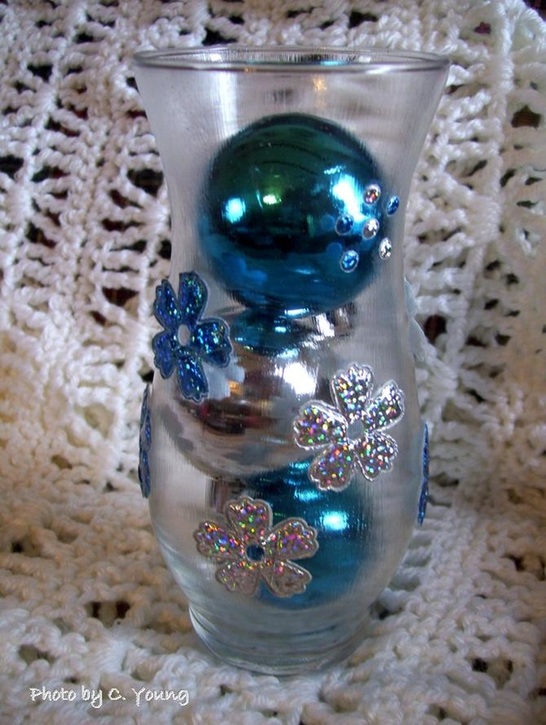
Decorative Winter Vase
Besides the glass jar, I also made a winter decoration with a glass vase, Christmas ornaments, and little flowers. First I put one coat of fabric sparkle paint evenly over the outside of the vase. This gives it a slightly frosted, slightly sparkly appearance. Then I dropped three colored ornaments inside the vase. I used craft glue to adhere the flowers to the outside of the vase. The tiny centers of the flowers, I used as dots to make another flower on the side of the top of the vase. This also came out pretty.


 RSS Feed