Here is a peek at a couple of things I'm working on. What could they be?
 |  |
|
Here is a peek at a couple of things I'm working on. What could they be?
0 Comments
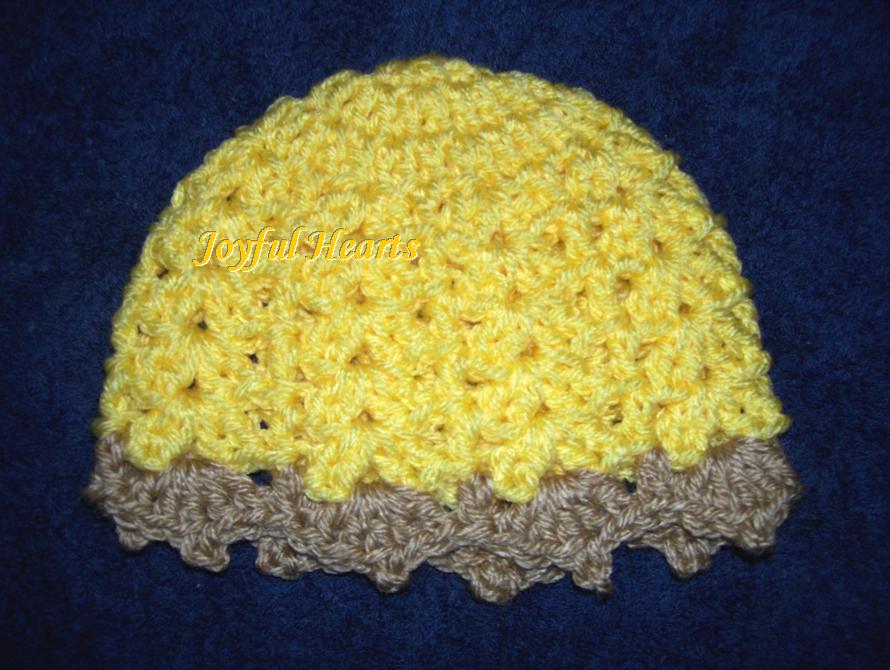
This week I seemed to be on a hat crocheting kick. I certainly had fun making a bunch of hats. I did have a little trouble with the pictures. Tried different lighting and different background, and they just didn't seem to be cooperating, but I'll share the best ones on here. :-) Blue Ruffle Hat with Pompom The light blue yarn used in this hat is Red Heart yarn, the really soft kind. I don't have the label so can't remember what it is called. The dark yarn is "I Love This Yarn" in royal blue. The pompom is made from the light blue yarn. The main color is royal blue. The stitch is similar to the granny stitch but a little different. I put two double crochet in every other stitch. On the following rows, I alternated by putting the two double crochet in each space. For the ruffle, I made 5 double crochet with color B (light blue) in the second stitch of every other set of two double crochet of color A (royal blue). In the third double crochet in each set of 5, I made a picot. Here is a picture. I don't know why the bottom of the hat doesn't show in the picture, but the hat is even on the bottom. 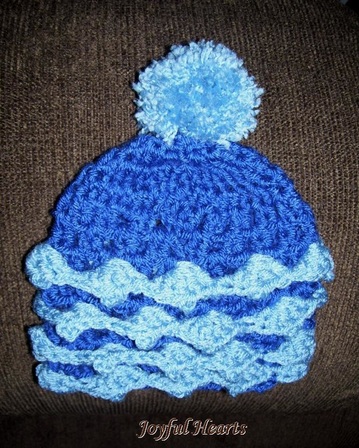 Brown Bear Hat This hat is fun and works up easily. The brown is more of that soft Red Heart yarn. The pink is Red Heart Super Saver baby pink. To make this hat, I followed this youtube tutorial. It took a couple of tries, but I finally figured out how to go to the next row with the stitches. Once I figured that out, it was fun and easy from there. 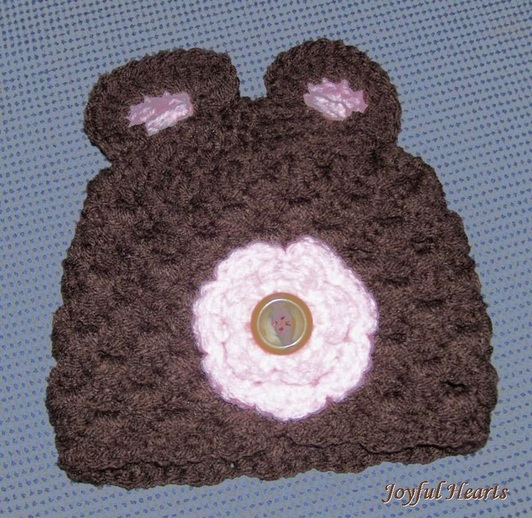 Brown Shell Hat with Pink Stripe There was plenty of the nice, soft brown left, so the brown shell hat also got crocheted. One row of pink shells was added to give it a little prettying up. (Sorry the pink shows up white in the picture.) 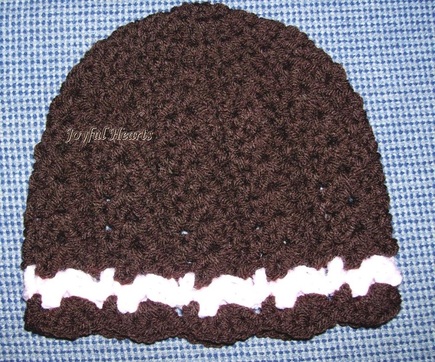 Yellow and Yellow and Gold Hats All these bits of wonderful, soft yarn are left over from the yarn I had bought at Rag Bag, the store that is sadly closed now. Surely do miss it. But the soft yarn is available at WalMart. Just costs a little more. :-) Gold and Yellow Striped Hat This hat was made with just plain double crochet throughout except for the yellow stripes. The yellow stripes are done with two rows of single crochet. 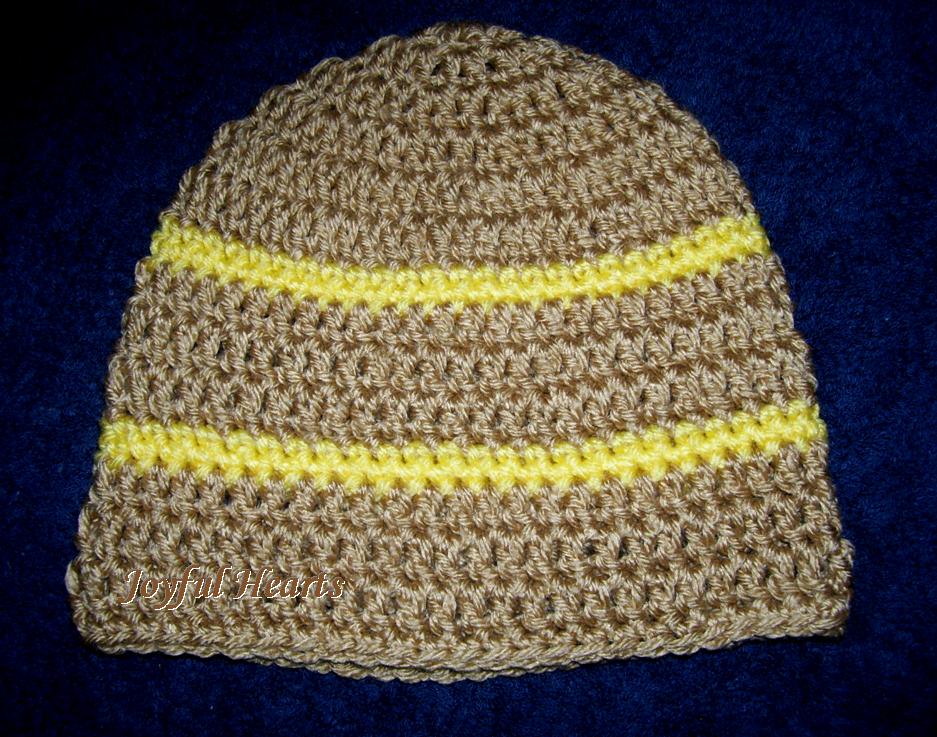 Royal Prince or Princess Hat This is another hat made with the variation of the granny stitch. The granny stitch variation was used throughout except for the crown of the hat, which is double crochet. The edging at the bottom was done with the same kind of stitch as the ruffles on the blue hat. There is a little crown on the top with a picot edging. 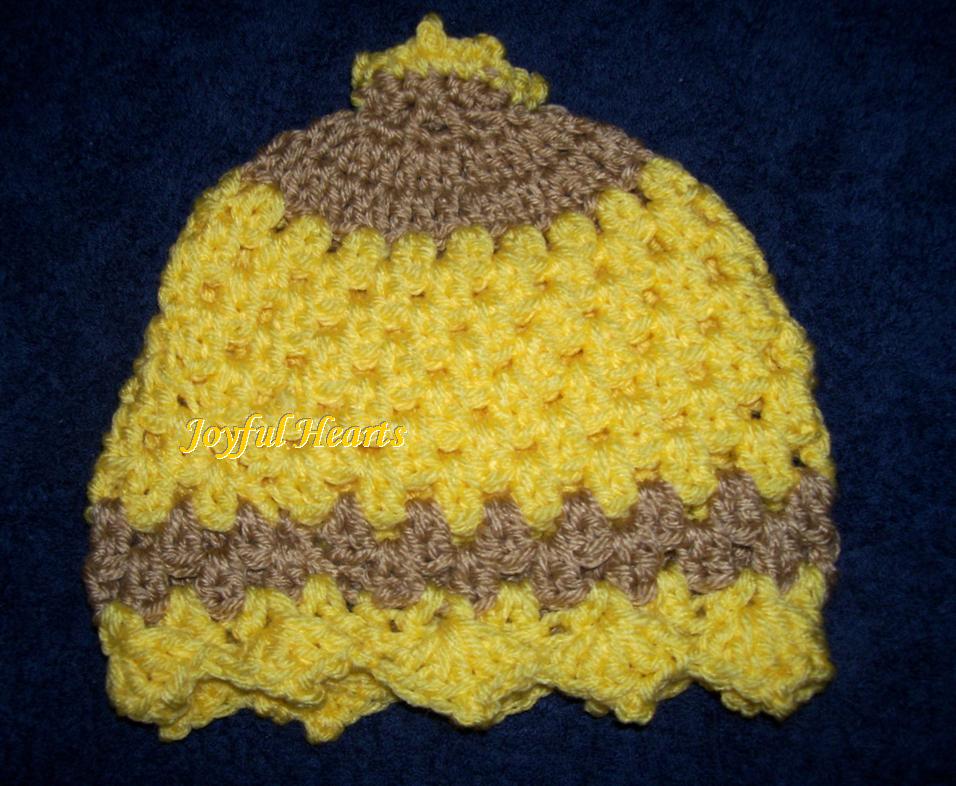 Yellow Shell Hats The hat on the left in the pictures below is made with just a simple shell stitch -- two double crochet, chain one, two double crochet. The one on the right is the same, with the last row being gold instead of yellow. In the shell on the last row, instead of the chain one, I just added another double crochet, making five double crochets in each shell. In the center (third) double crochet of each shell, I made a picot. This gave the edging a pretty touch.
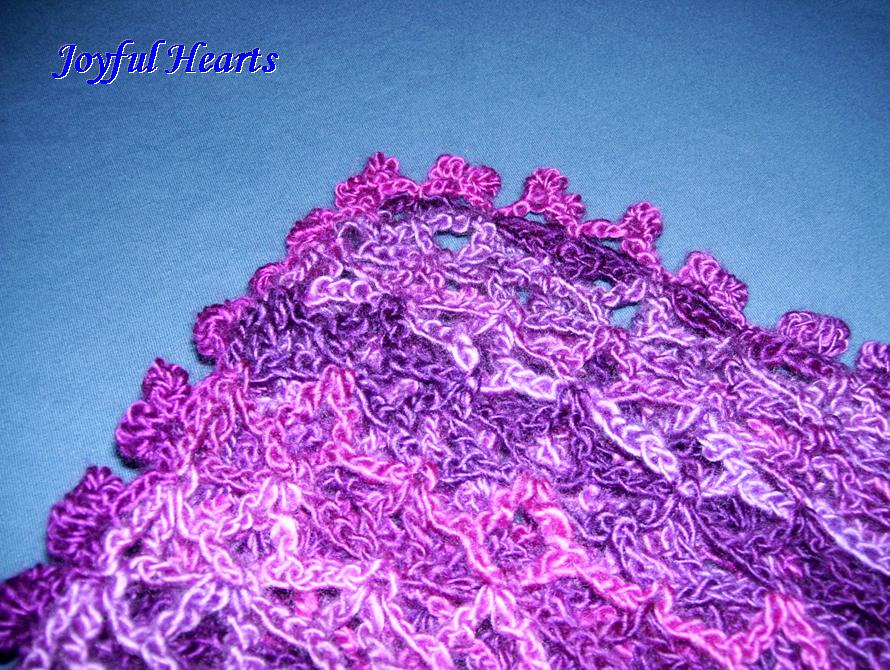
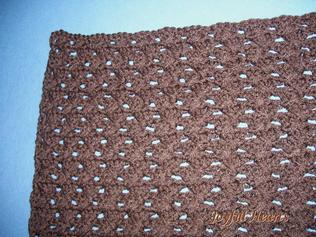
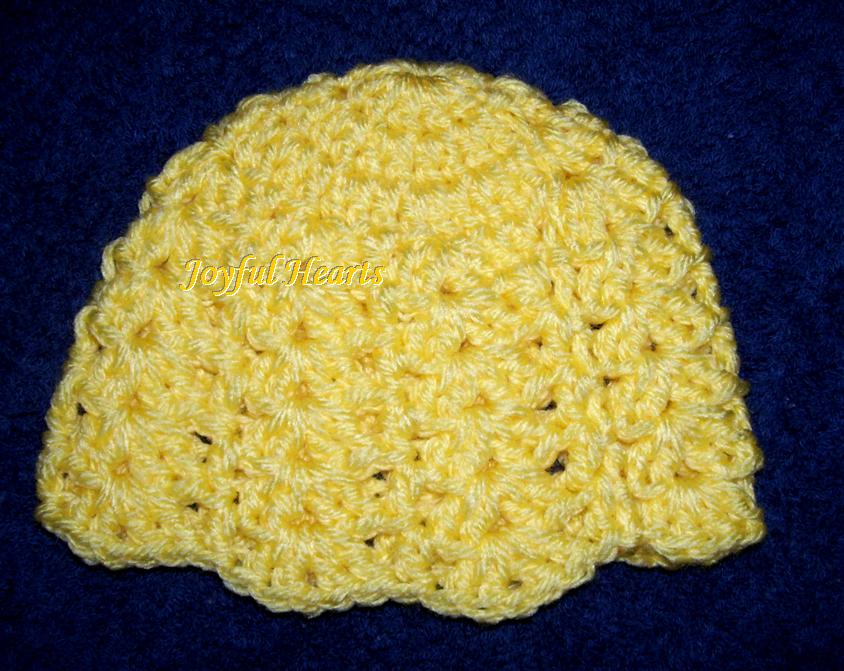
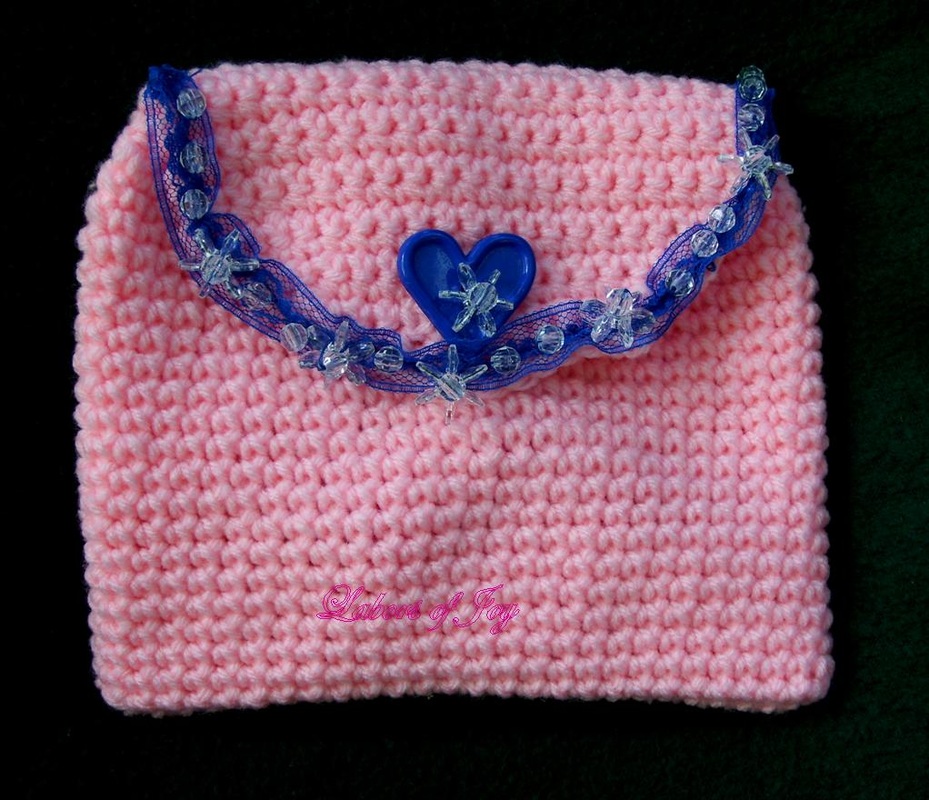
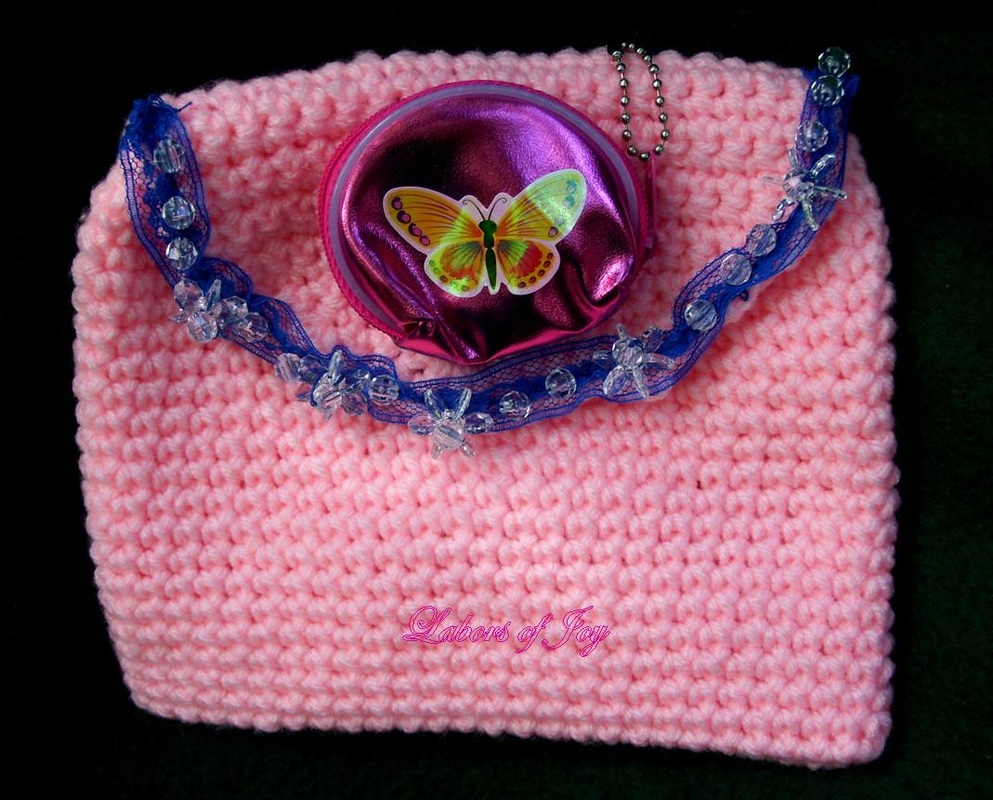
Baby Blanket -- Garden with Flower Border About nine days ago, my cousin had a new little baby girl! How exciting to see this blessing of a new little life coming into the world! Well, a new little life calls for something special. So, I made this little baby blanket. It has kind of a unique design which I named Garden with Flower Border. Yarn The red yarn was given to me by my aunt. I'm not sure what kind of yarn it is. It is soft. Most of the pink was also what she gave me. I ran out just before doing the outer border. The outer border is done with Red Heart Super Saver baby pink. Stitches The red part of the blanket was done with several different types of stitches. There were rows of single crochet and rows of double crochet. Some rows I did one double crochet, chain one; one double crochet, chain one; etc. Then I did a row of single crochet, then 5 rows of double crochet, and then a row with spike stitch. This made the design on the blanket look like rows in a garden. The flower garden border was made with half double crochet for five rows and then a row with 2 double crochet, a puff stitch flower and two double crochet in a pattern across the row. This was repeated twice and finished off with a couple rows of half double crochet. The outer border is just simple shell stitch. Here are a couple pictures from a couple different angles. 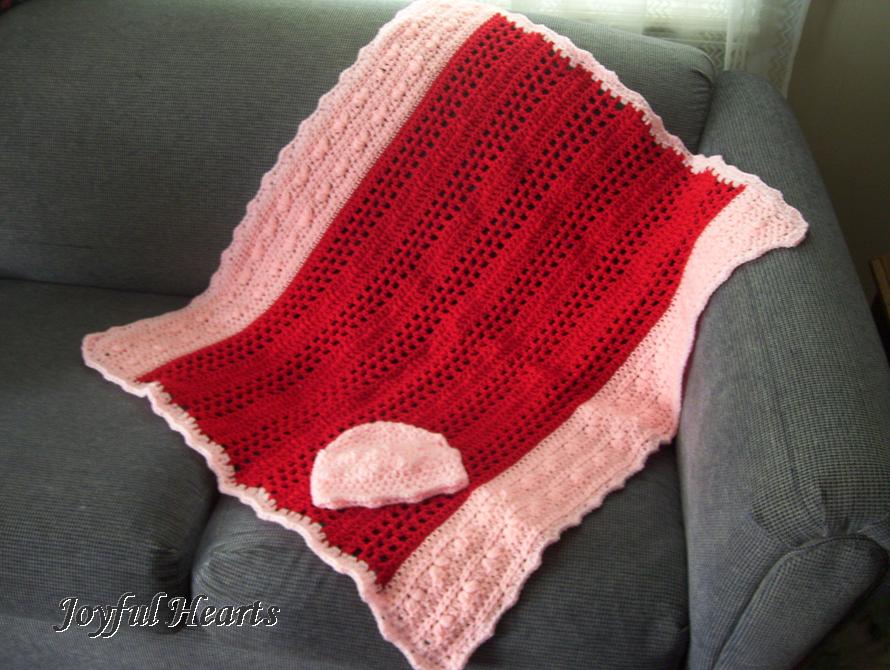 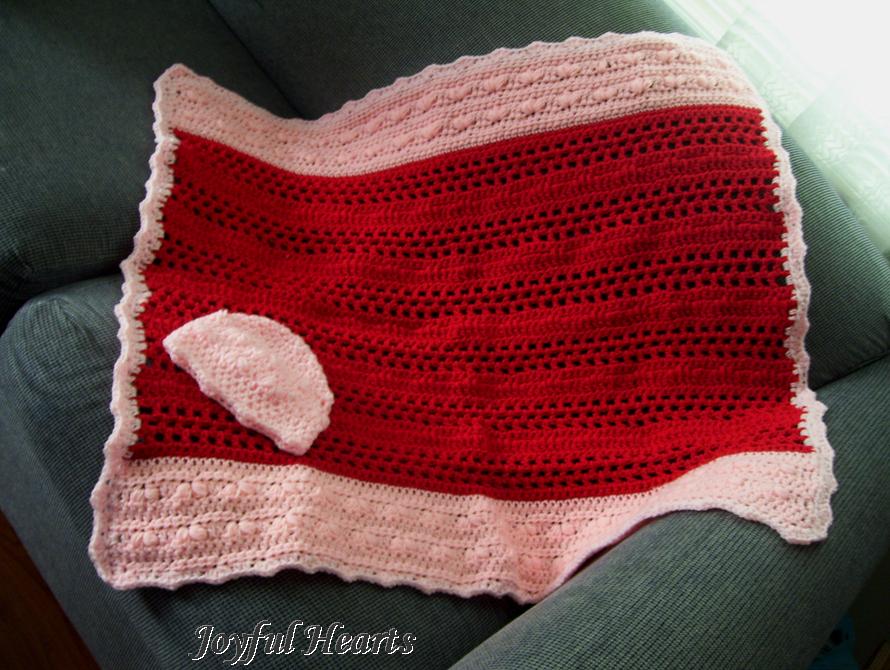 Baby Hat Well, the blanket needed a matching baby hat, and there was plenty of the Red Heart Super Saver baby pink left. So, I made a newborn size baby hat with the pretty puff stitch flowers. 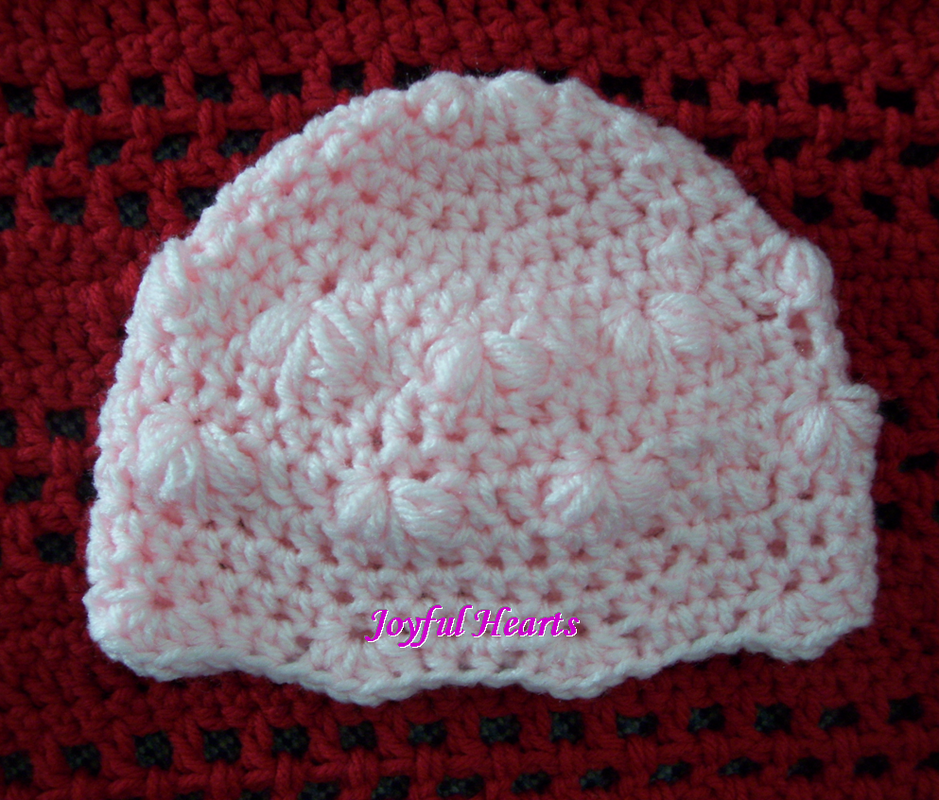 Two Pink Bags After I made the hat, there was still some baby pink yarn left, so I made a couple little bags. The first bag is closed by a zipper and is about 9 inches wide by 6 1/2 inches high. I used the same puff stitch flower pattern alternated by 5 rows of half double crochet. These bags can be made lined or unlined. 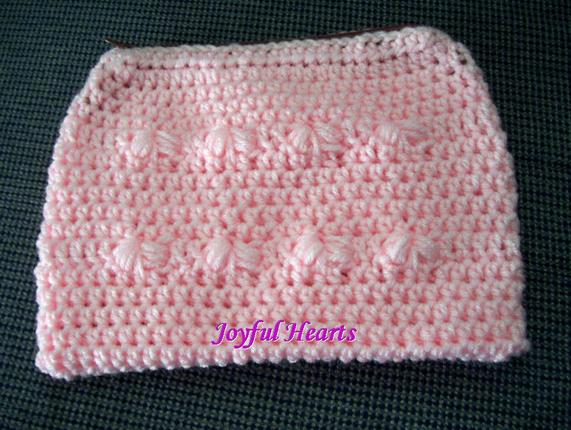 The second bag is closed with buttons. It is about 4 1/2 inches wide by 3 1/4 inches high. 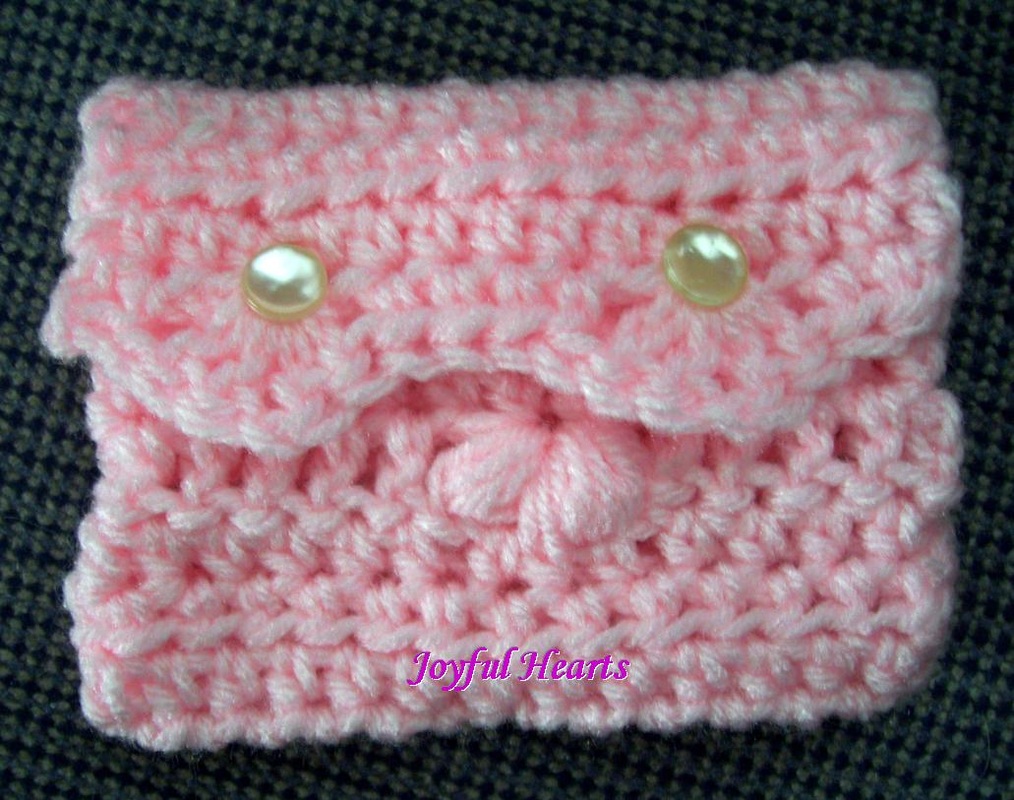 Thanks for stopping by, taking a look, and reading my post. I hope you enjoyed your visit and will come back again soon! Hey, everyone! I hope you had a wonderful fourth of July week. Ours was busy but had a lot of good things too. We didn't do much on the fourth, but we did have company on the 7th. This week I did a few small crafts and finished up another that had been in the making for a while. Dishcloths Fences and Waves Dishcloth The first dishcloth was made with Peaches and Cream cotton yarn -- green, purple and white variegated. The stitch was somewhat like a spike stitch and gave the finished project a unique look. I couldn't decide if it looked like fences or waves, so I called it the Fences and Waves Dishcloth. :-) To make this, I just did 6 rows of single crochet. Then I did a row of single crochet with spike stitches. This pattern was repeated until the dishcloth measured approximately 9" by 9". I will show a closeup picture of the stitches so you can get an idea of how it was done. 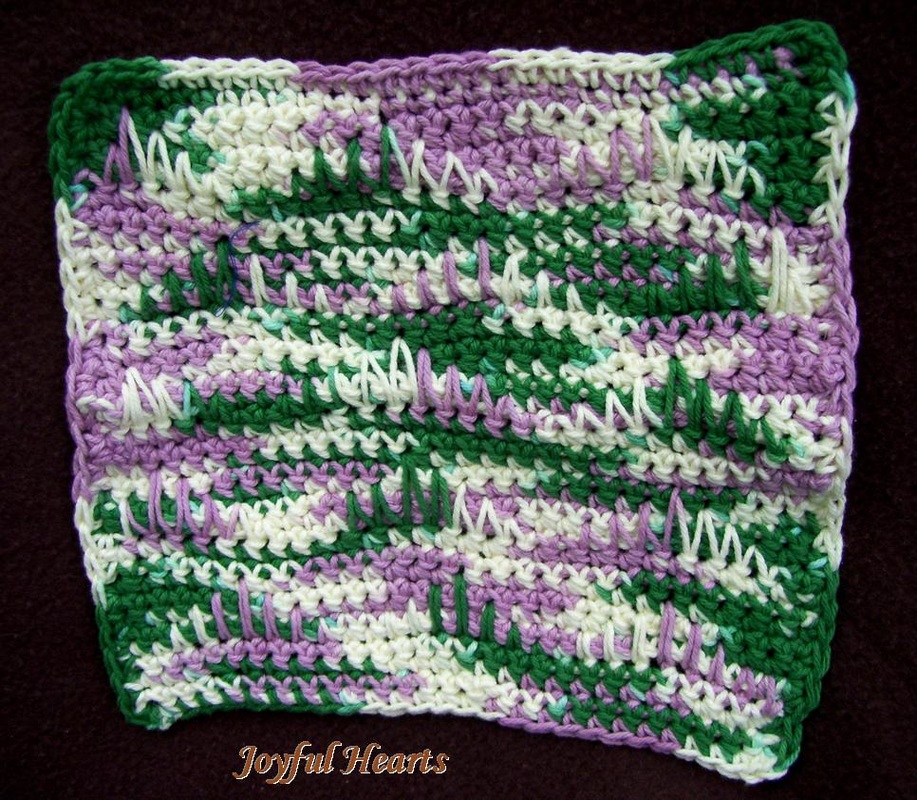 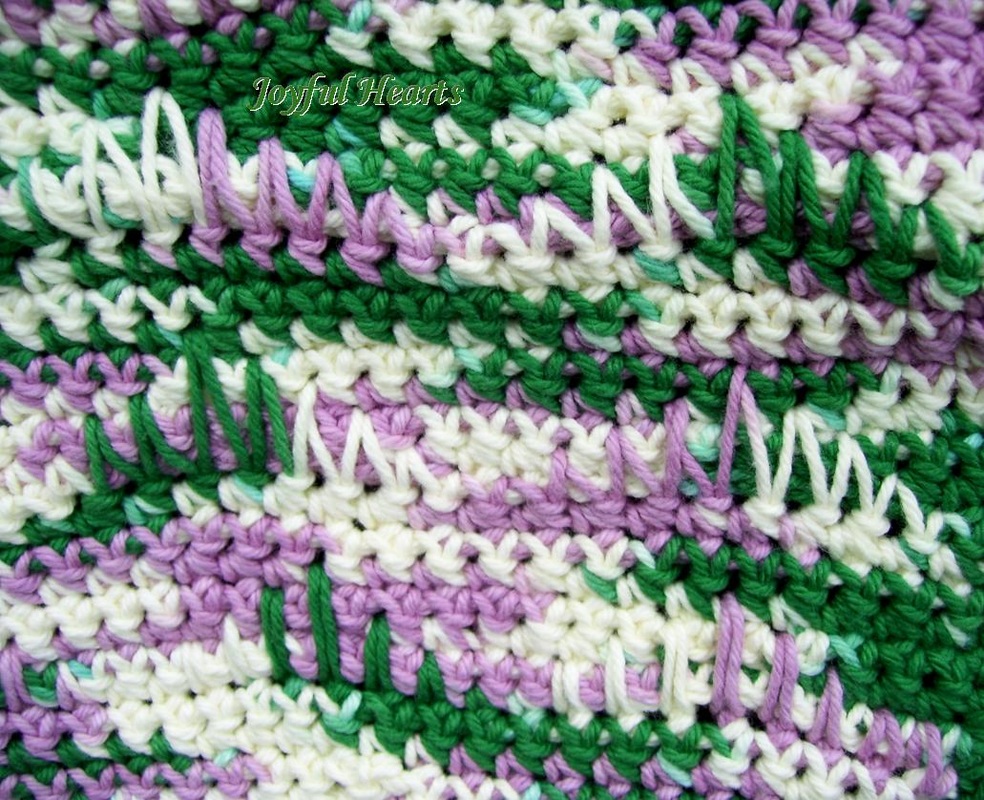 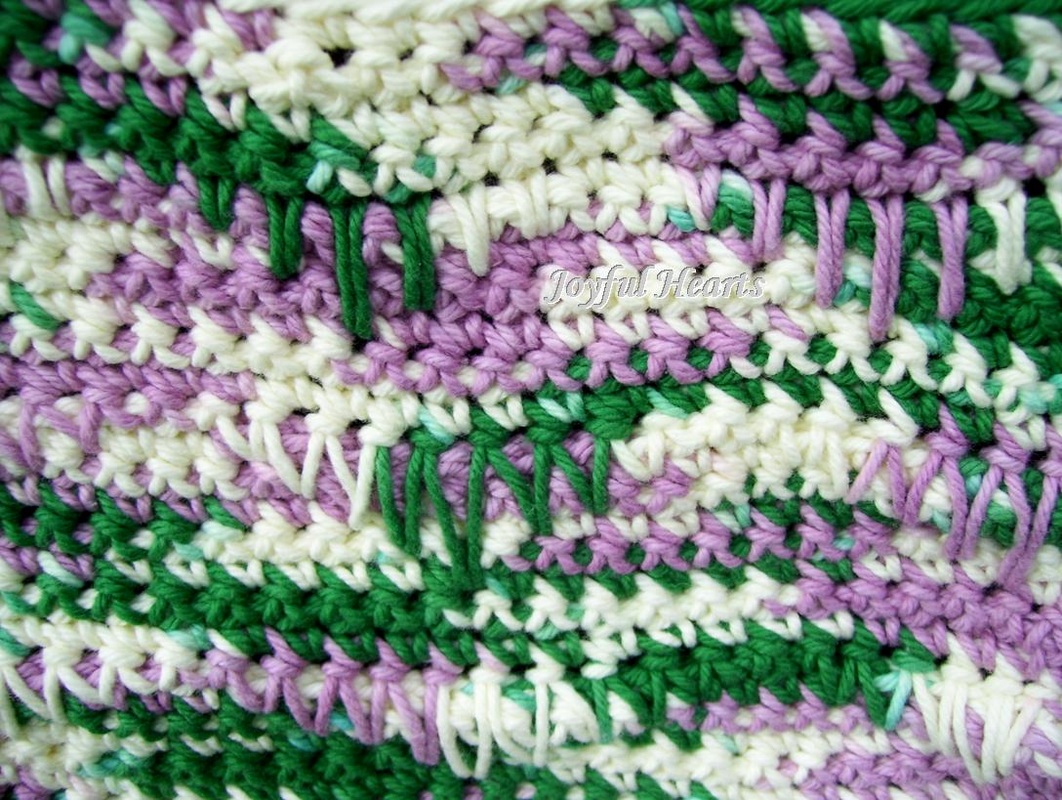 Summer Sunset Dishcloth The second dishcloth was also made with Peaches and Cream cotton yarn. The variegated yarn made a beautiful pattern that reminded me of the colors of a lovely sunset. The stitch used on this was single crochet throughout. Finished dishcloth was approximately 8" by 8". 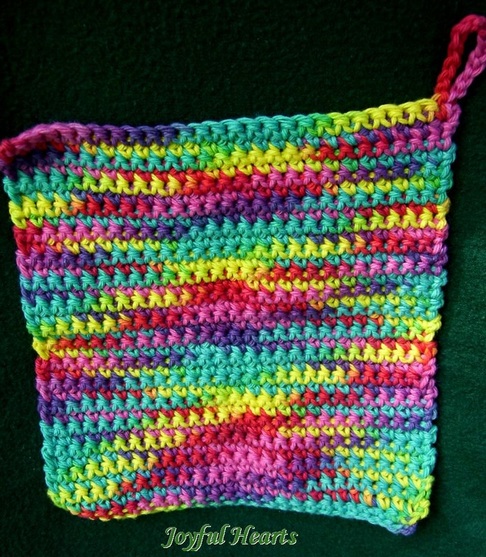 Little Bags Pink bag with lace and beads This cute little bag is about 6" tall by 6.5" wide. Blue lace was attached around the edges and beads added to the lace. A couple little things I would change -- Next time I would use gathered lace and would leave the extra bead off the button that is used for closing and opening the little bag. The bead makes it harder to get the button through the button hole. The cute little coin purse that is with it came from neighborhood WalMart. They were sold in packs of 6 for $1.99, making each coin purse about 50 cents each.
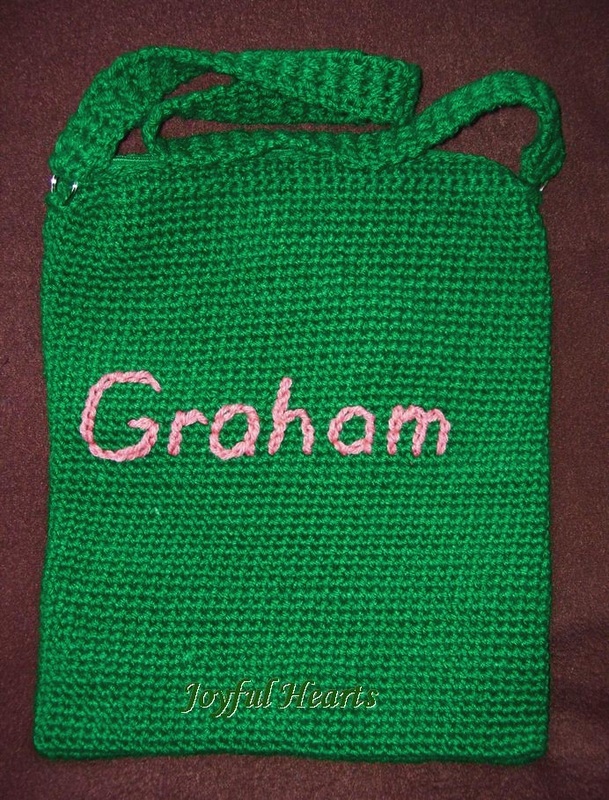
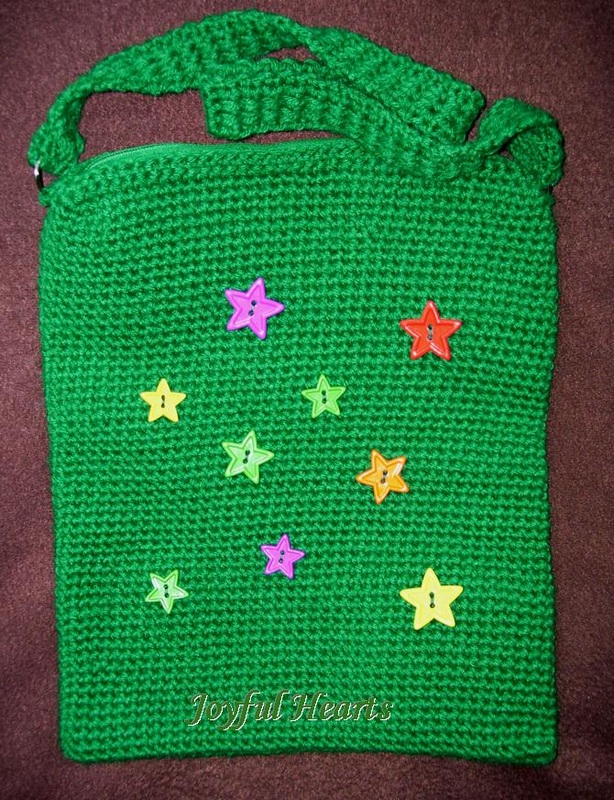
Green Bag With Name and Stars A fun and simple project this was, except for adding the name (Mom did that part). The bag is made in a round with single crochet throughout. The finished product measures approximately 11 inches wide by 13 inches high. It is opened and closed with a zipper. The opening at the top of the bag is about 9 inches across. When I made the butterfly purse a few weeks ago, I found the rectangular rings to be not quite to my liking for adding straps. For this bag, I used small round key rings. That worked really well, and the straps are more stable and hang more evenly. I can make a bag like this (unlined) for about $15. If lined with felt, it would be about $20.
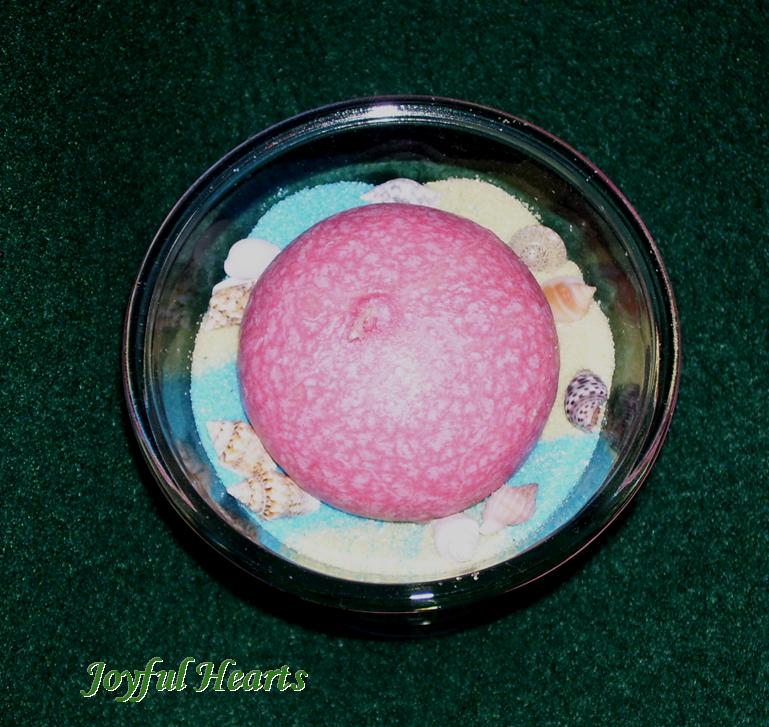
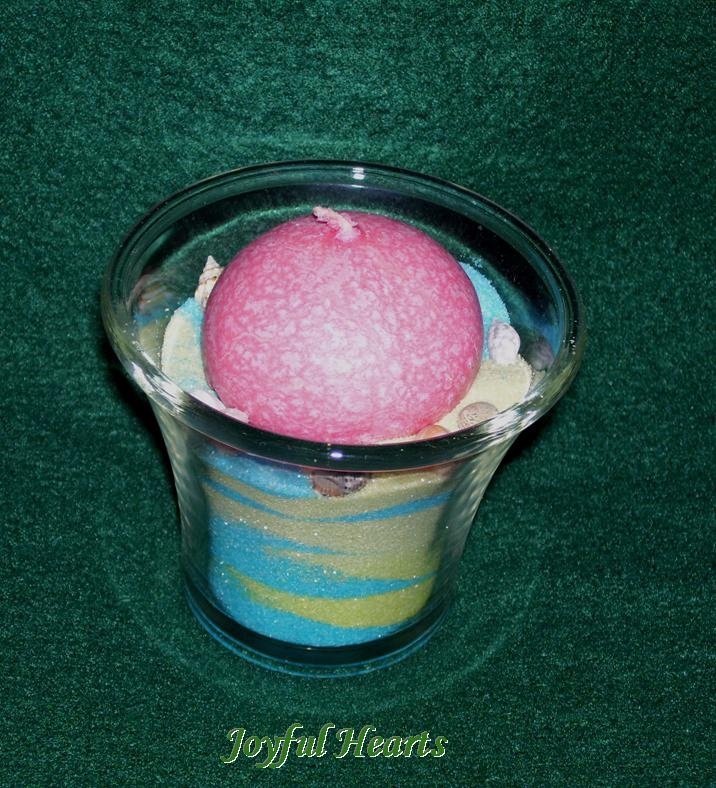
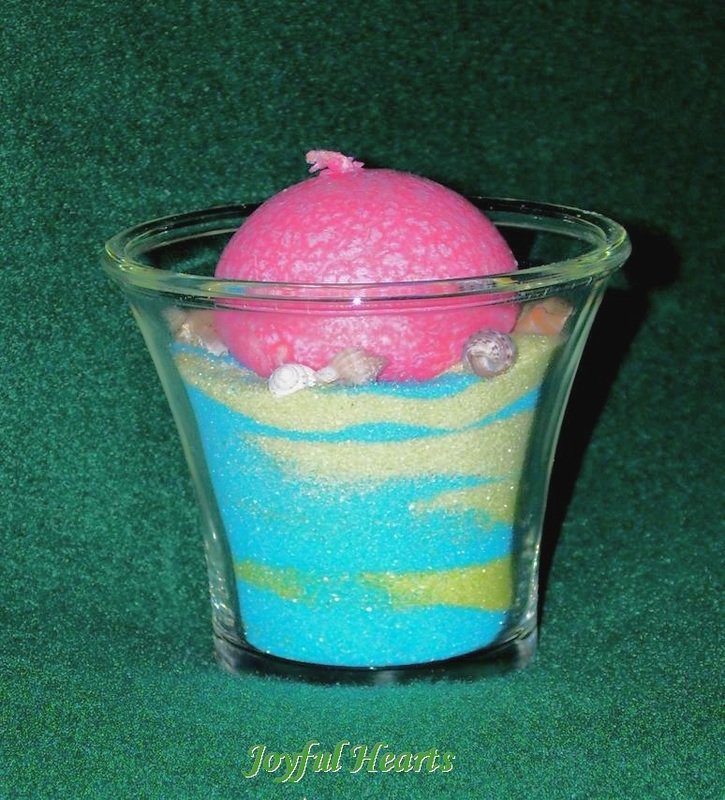
Monet Bag with Buttons My final project to share on this post is this little bag made with Red Heart Super Saver Monet yarn. Bags like this are great projects for using up small amounts of yarn that are left over from bigger projects. They are also quick to make. Instead of doing this in a round, I just made a rectangle, then folded it about three fourths of the way up and stitched the sides together. About one fourth of it, I left for opening and closing the bag. Three little buttons were added, and that was it! The finished bag is about 5 inches wide by 3 1/2 inches tall. It's just perfect to fit in a purse and carry little items. 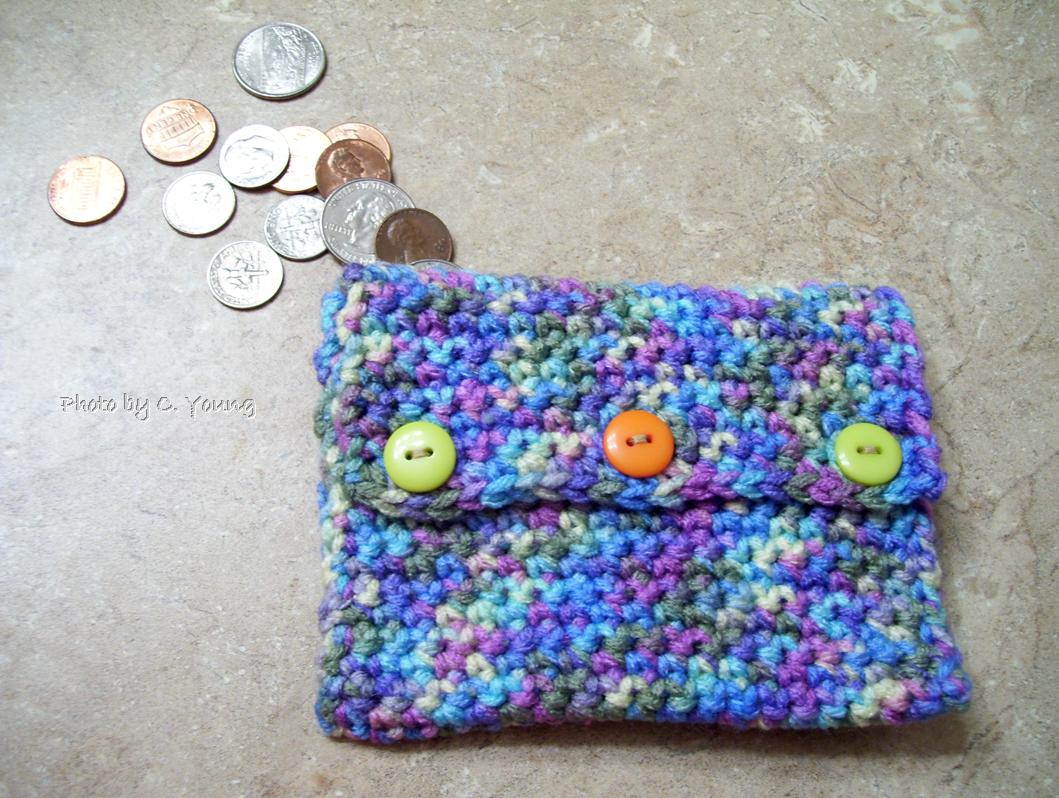 Thanks for stopping by and taking a look! I hope you enjoyed your visit. Come back again! For a couple of years, I had some sand stashed away in my craft supplies. What should I do with it? Color the Sand The first thing I did was to make most of the sand into colored sand. First I divided it it into 5 baggies with about one ounce of sand per baggie. To make the colors, I simply used food coloring. To about 1 ounce of sand, I added 2 to 4 drops of food coloring. For the orange, I used 6 drops -- 3 drops of yellow and 3 drops of red. Found out you wouldn't want to add much more than 6 drops. The sand absorbs the moisture, but begins to get moist if you add too much. The colors I used were McCormick food colors Green neon Blue neon Purple neon Pink Neon Yellow and red (to make orange); just the regular colors, not neon. Here are my baggies of colored sand. 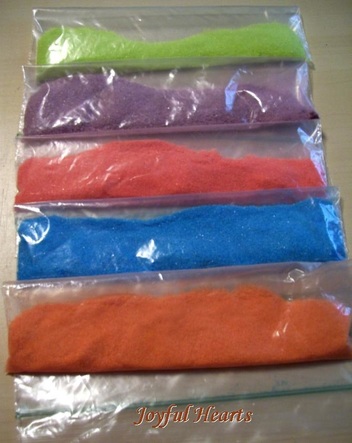 Sand and Shells Candle Holder In my craft supplies was a pretty little glass candle holder. It was lonely and had no match, so it was just waiting for something to make it cheery and fun. This project was simple. First I made sure the candle holder was clean. Then I chose the colors of sand (actually Mom chose them). First was blue, then green, then blue, then green again. They were poured in unevenly so as to make patterns within the glass candle holder. When it got as full as I wanted it, I added a little round candle and some tiny sea shells. Here is a peek from some different angles.
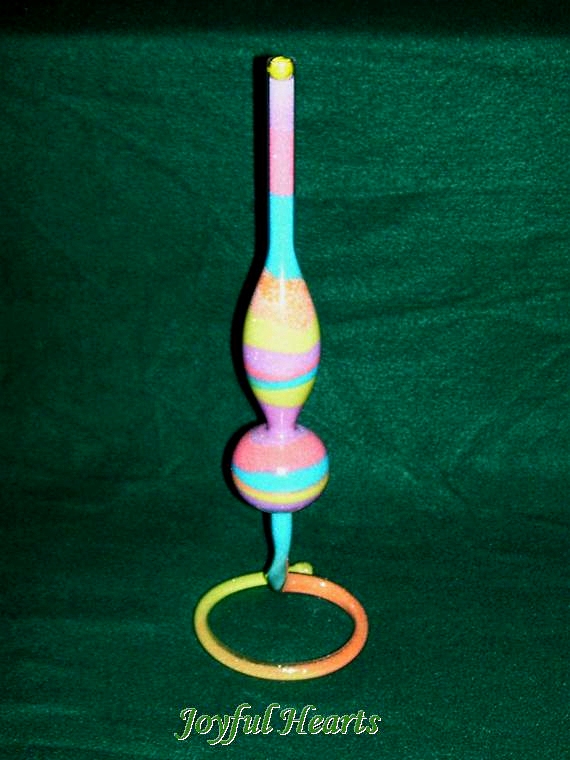
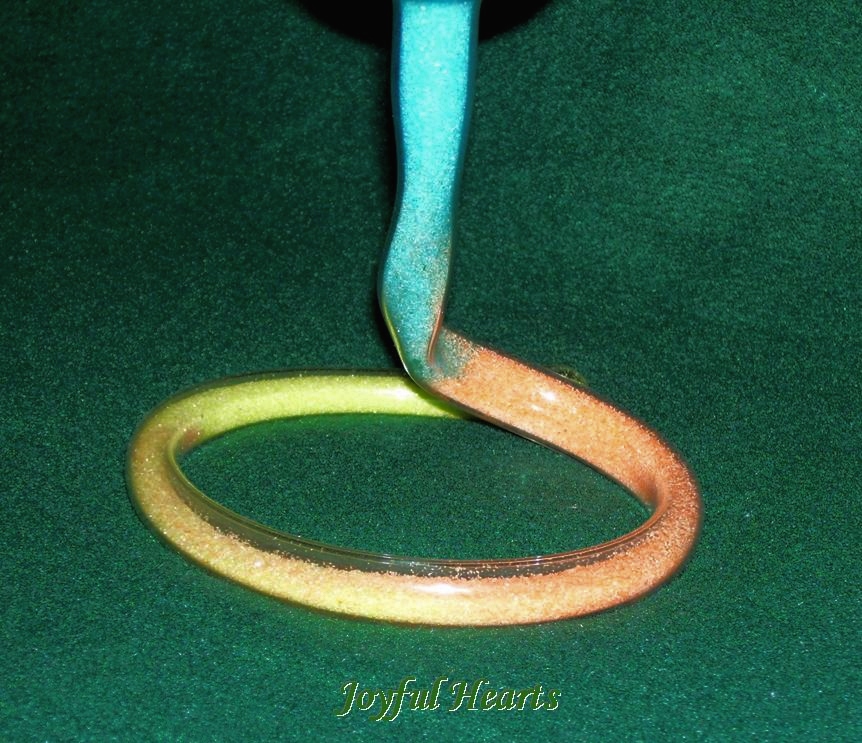
Cotton Candy Colors Vase You will probably recognize this vase from last week's post. It is the one I used for the experiment stringing seed beads onto copper wire. It looked OK but really needed a lot more beads in the larger part of the vase. Mom had the idea of filling the vase with the colored sand. That sounded great, so I gave it a try! Now, filling this vase with colored sand was easier said than done. Surprisingly, it was about as hard to get the sand in the curvy bottom of part of the vase as it was to get the beads and wire in it. With some patience, turning the vase this way and that, and some gentle tapping, the sand got down there. However, that part of the vase never did get full. Sand was added to the vase in alternating colors -- yellow, orange, blue, pink, and purple. This sequence was repeated four times until the vase was full. The vase holds a surprising amount of sand -- about 8 ounces. When it was all filled with sand, we took a piece of yellow sticky tack and put it in the top of the vase. That way, if I accidentally tip the vase over, sand won't go everywhere. :-) So that was my fun with colored sand! What would you make with colored sand?
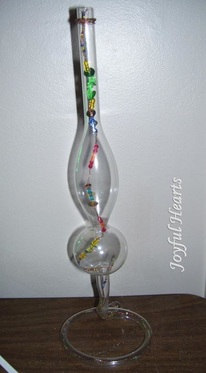
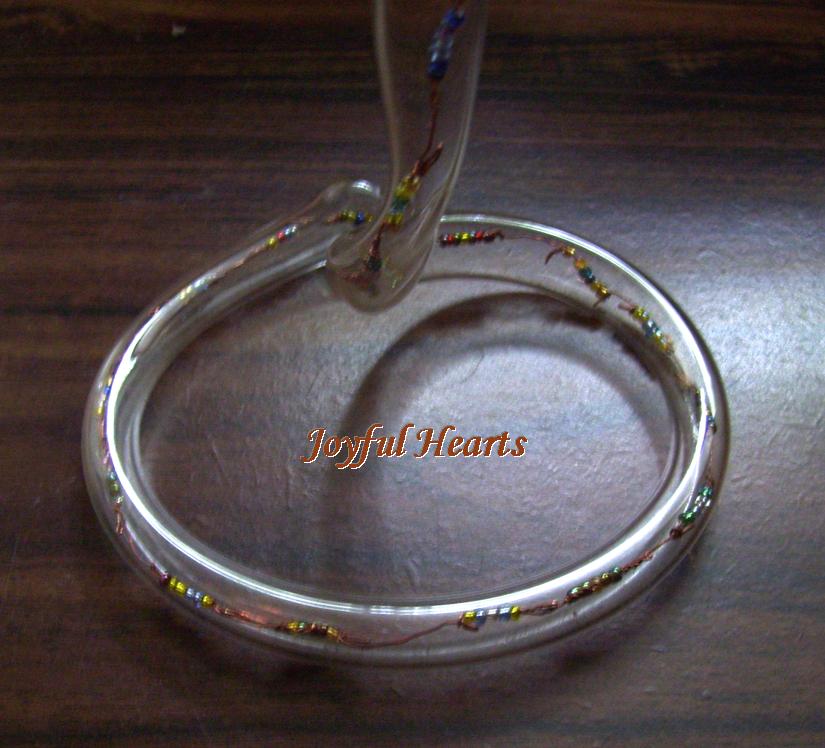
Hey, everyone! Thanks for stopping by! I'm a bit late with this craft roundup because of technical problems uploading pictures to the blog. But, I'll give it a try today and we'll see how things go. Shell Colored Lights Lamp My bedside lamp finally gave up the ghost. It was old and well used. The glass base and shells were pretty though, and they needed a new life. So, they turned into a shell colored lights lamp. First I unscrewed the base and cut off the power cord. The cord was amazingly easy to cut. Guess it was getting rather old and brittle. Then I enlarged the hole in the metal part of the bottom of the lamp base. This was no easy task. Whatever metal it is made of was not intended to be bent. It actually had to be heated on the stove quite a while before I could bend it with some needle nose pliers. Once the hole was big enough, I let the metal piece cool. After it cooled, I fed a string of Christmas lights through it. The hole was still quite small, so they had to be fed one light at a time. Then I arranged them among the shells. Was not quite happy with the finished product. When the lights need to be replaced, I think I'll take some of the shells out so they are not so tight in there and then the lights should be easier to work around through the shells. When the lights were in place as good as they could be, I screwed the bottom of the base back on. Now, what to do with the top? The switch mechanism wasn't all that pretty. So, I decided to make a star fish decoration to cover it up. Starfish decoration: First I took an old CD and covered it on the printed side with a piece of tan felt. Next, I printed out a picture of a starfish and glued it on. When that was dry, I glued on glass gem stones over the shape of the star fish. Finally, I covered any exposed areas of felt with glue and sprinkled on some sand. After the sand was dry, the CD was turned over. Double sided sticky tape and some wire were added to make a way to attach the decoration to the switch assembly part of the lamp. 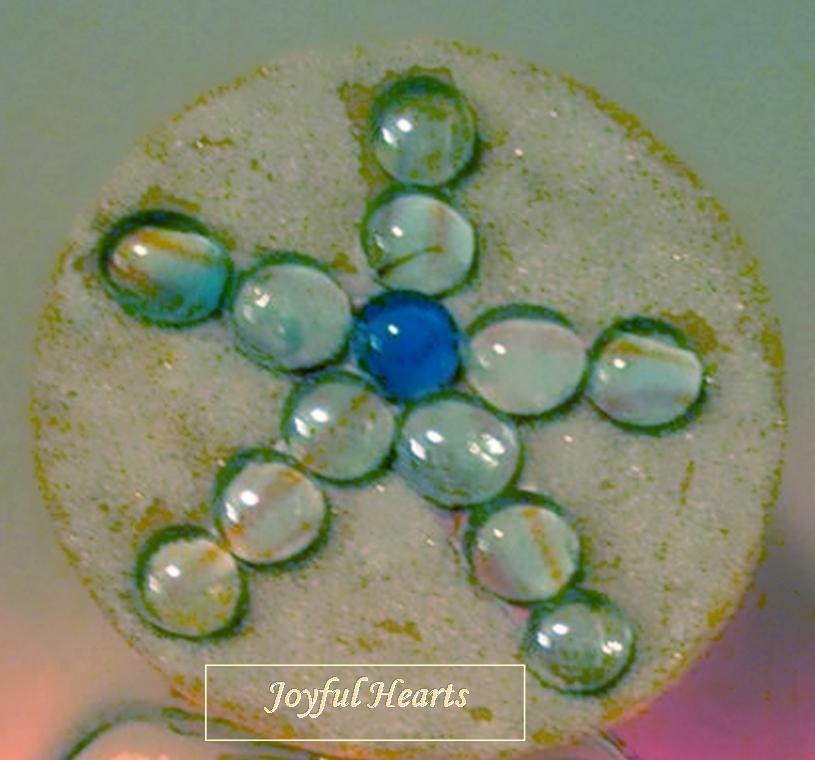 Now that the lamp was put together, it was time to test it out. It did look pretty, although it was hard to get all the colored lights to show up in the picture. This will look nice in our fish/sea themed bathroom. 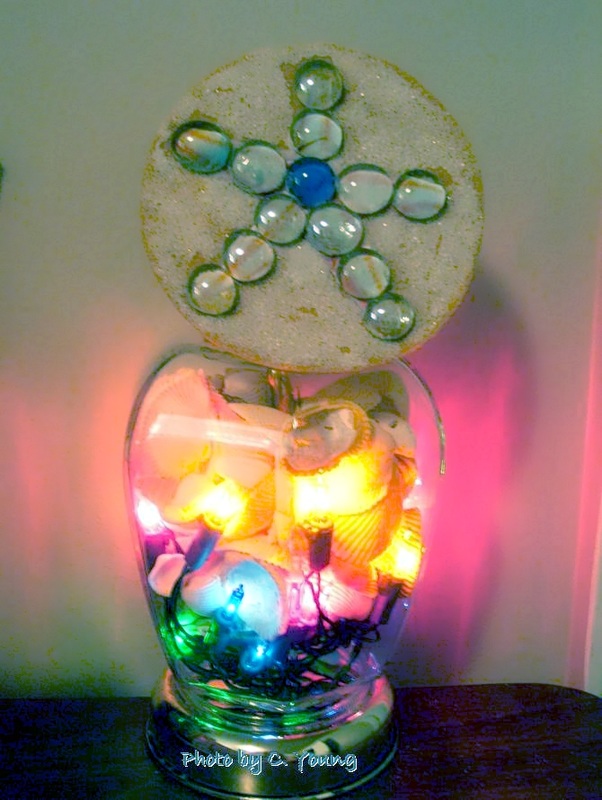 Vase and Beads This craft was more of an experiment, but it turned out OK. I had this lovely vase that I had gotten from a thrift store and wasn't sure what to do with it. Also had some very thin copper wire which looked just about the right thickness for "stringing" tiny seed beads. So, I strung them on until the wire was long enough to go the length of the vase (although it could have been a little longer). Next job was to work the beaded wire through the vase. This was harder than I had anticipated. Because the wire was so thin, it would bend when it met resistance instead of following the path through the vase. But, I used a thin dowel rod to encourage it along. With persistence, I finally got it all the way to the bottom. Now it sits on the little rolling cart in front of my window and adds shine and sparkle to the room.
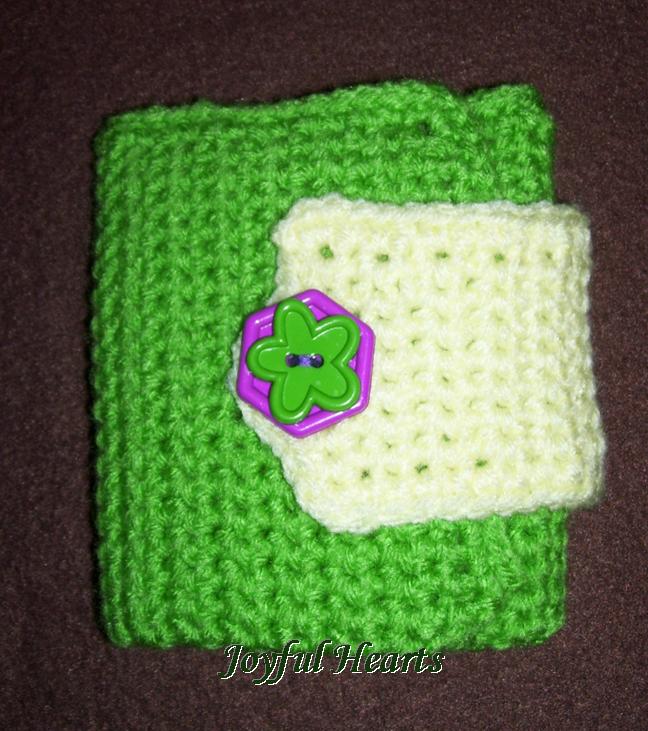
Mirror Tile Mat These mirror tiles have been sitting in my craft supplies for several years, and I had no idea what to do with them. As I was looking at pictures of crafts on the internet yesterday, an idea came to my mind. How about making a small tiled mirror mat for taking pictures of little craft items that would look good with a reflection? To make the mat, I first cleaned a small piece of glass that had been taken out of a picture frame. It was just the right size for the 25 mirror tiles. These were arranged as neatly as possible on the glass and then glued to the glass. The glue was allowed to dry overnight. Now the mat is all set for taking pictures. The fun part will be figuring out the best items to take pictures of and the best angle to use to get the right reflections. Here are the results of a couple of tries at picture taking on the mat. 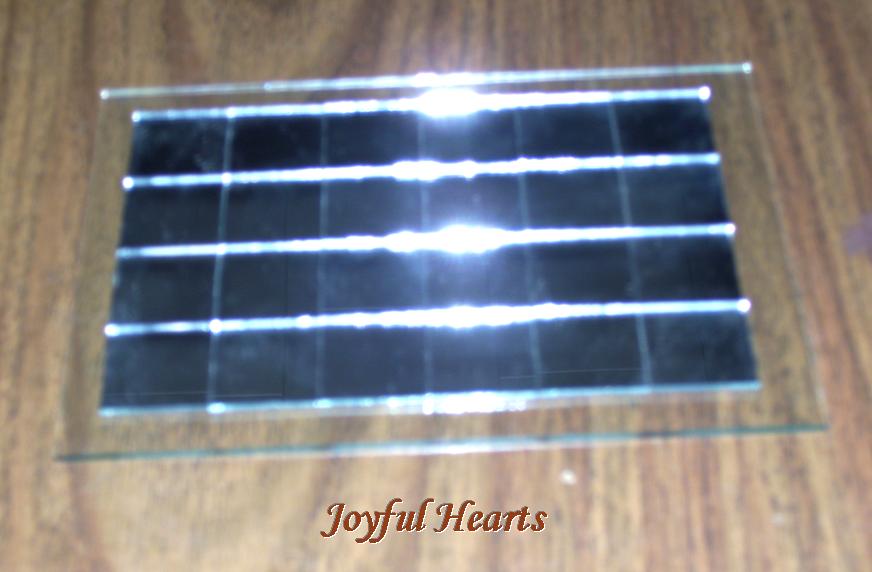 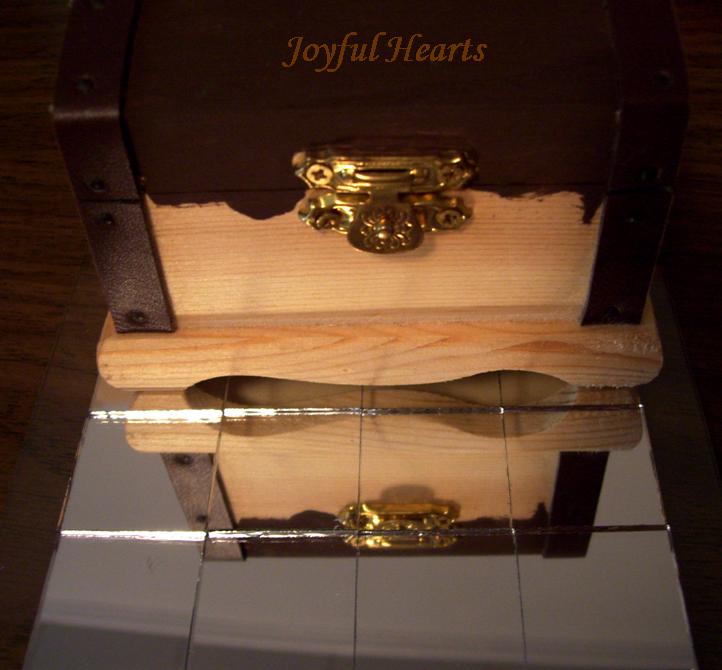 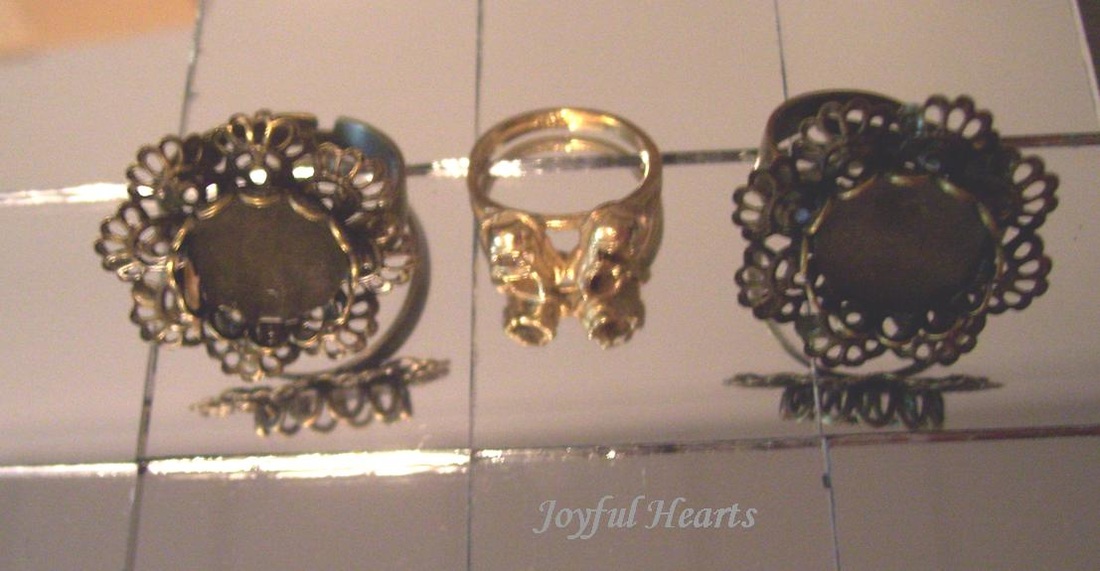  That's it for this craft roundup! Hope to see you again next week. Then I'll share with you what I made with this colored sand. Have a great week, y'all! On Friday, I finally finished the Butterfly Purse This was challenging as I had not done a project like this before. And this is the first time I made a lined bag of any kind. First I made the main part of the purse, which was about 10 inches wide by 7 or 8 inches high. The butterflies were part of the stitch, but I added the flowers. Mom stitched on the name using a chain stitch. 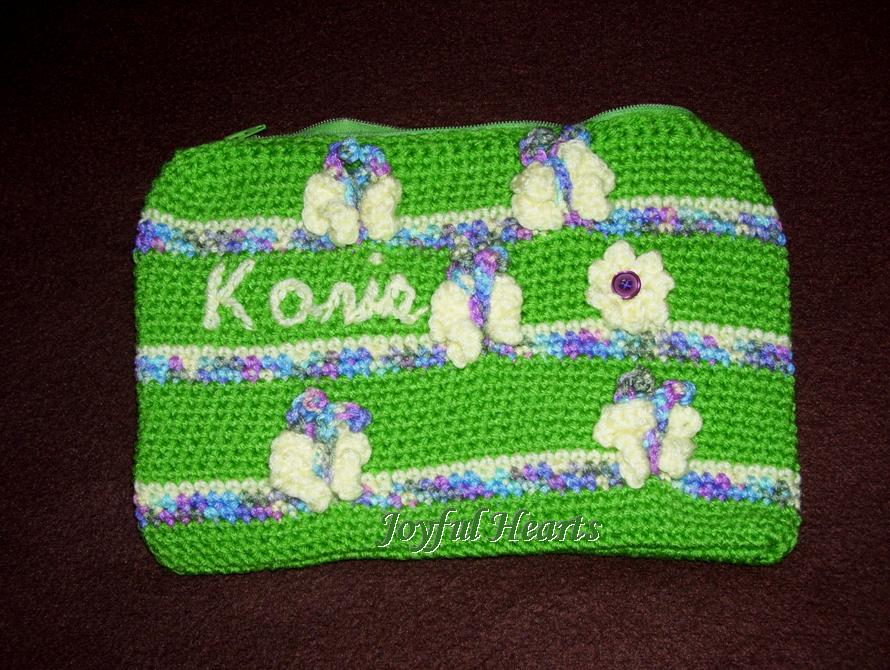 The purse was made from the top down. I started at the zipper and worked toward the bottom. When I got it the desired length, I unzipped the zipper (very important) and turned the purse inside out. Also turned my work so that I was crocheting the opposite direction and closed the bottom of the purse by single crocheting both sides together. Then the purse was turned right side out. Lining The next step was to do the lining. I've seen several different ways to do it, but this video had the easiest technique I found, at least for me. Since the purse has a zipper, I sewed the lining to the zipper on the inside, making sure to go all the way through and sewing to both zipper and yarn. With a little care, the thread can be pretty much invisible on the outside, though it will show on the inside. After the lining was put in, the pockets were sewed on. One side had a single pocket. The other side had two smaller pockets. To make the pockets more sturdy, I sewed the pockets to the lining but also made sure to go through the felt and catch a little of the yarn as well with each stitch. This was a little tricky, and I ended up redoing part of each pocket as I caught some yarn on the edge of the purse and made the side pucker. Thankful for picks and sharp pointed scissors. :-) Here is a picture of the lined purse with pockets. 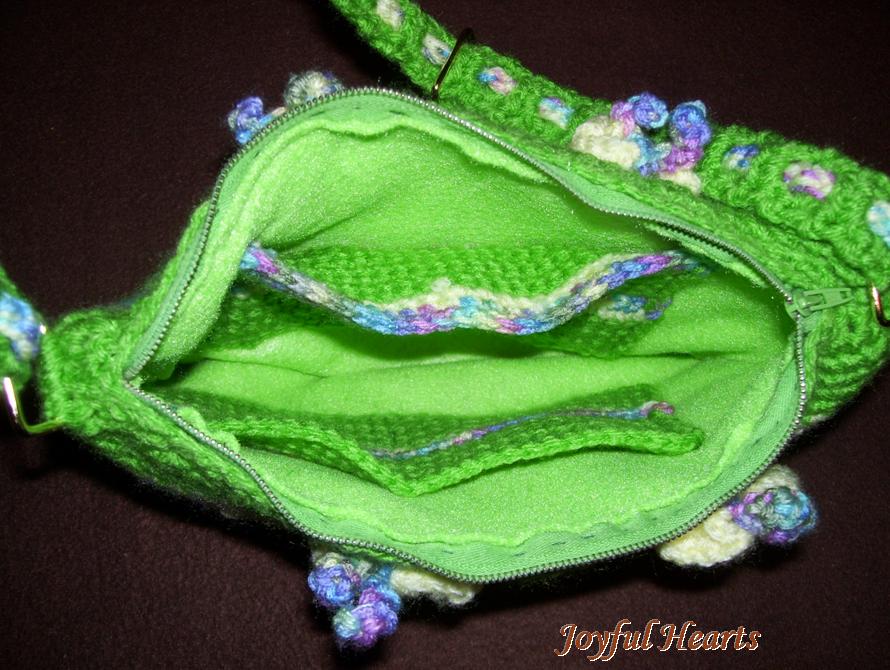 The Strap One request with this order was for an adjustable strap. This wasn't as difficult as I thought, but I don't know how to explain what to do to make it. Mom helped me with this step. Three rectangular rings were used in the process. 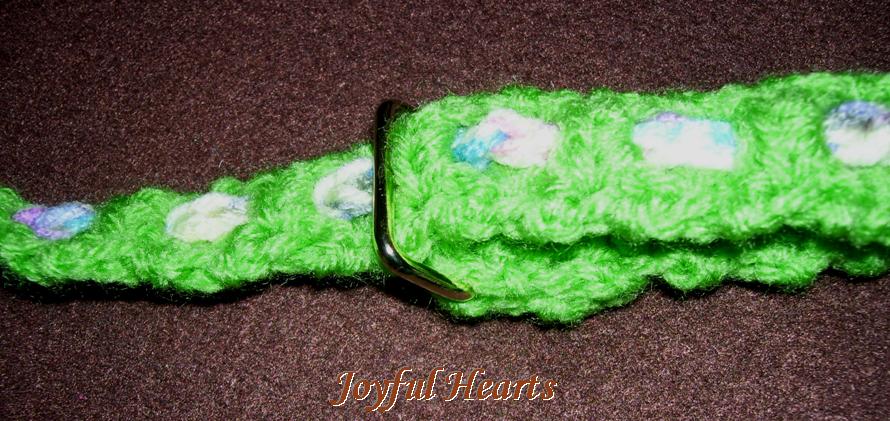 Wallet Another request for this order was a crocheted wallet. An old leather wallet made a good pattern. It helped in knowing how long and high to make it, where to make the folds, and how to make the inner pocket. The crocheted version shown here has only one pocket. A little plastic coin purse will be included. That was easier than making a little zippered pocket. :-) Colors used in the wallet were the same as those used in the purse -- the spring green and pale yellow. It was Mom's idea to double up the button. Hence a fuchsia pentagon shaped button on the bottom with a green flower button on top. I glued these together first so that the holes would stay aligned while I sewed and then sewed it on with purple thread.  The angle of the picture makes the crocheted wallet look longer and larger than the black one, but they were actually almost the same size. 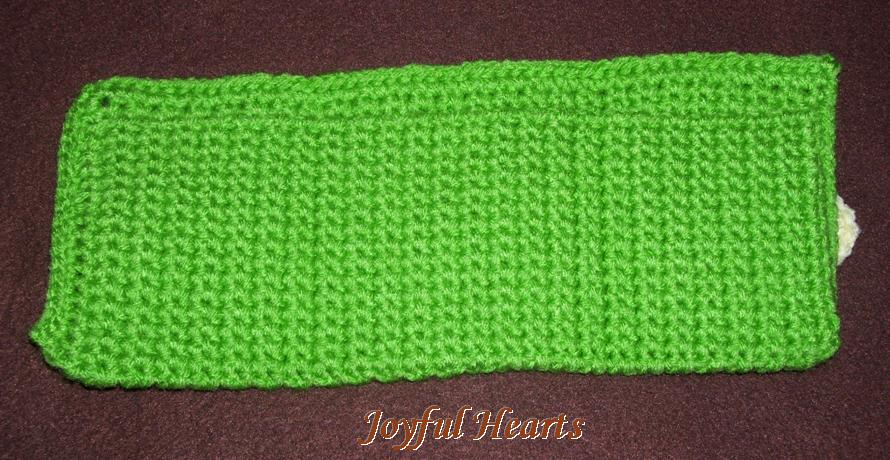 The inside of the wallet. You can see the pocket -- goes the length of the inside but comes about a half inch from the top.
So was completed this challenging project. It definitely wasn't perfect, but it was a good way to learn how to do some new things. Hope you enjoyed! Are you trying a new or special project? Tell me about it in the comments. Our church has Vacation Bible School coming around the corner -- in just about two weeks. We usually have what is called a "Country Store." Children can earn points for memorizing Bible verses and doing other things throughout the week. These points can be redeemed for items in the Country Store. We were able to donate some things -- pencils, toy airplanes, and so forth; but I wanted to make a few things too. So I made a Spring Burst Scarf There was a little bit of this beautiful yarn left over. I don't know what the color is called, but I'm pretty sure it was from a skein of Red Heart Supersaver yarn. There was just enough to make a child size scarf (48 inches) and a matching flower pin. For the stitches, I used a pretty pattern from the CrochetDreamz blog (just scroll down, and there should be a link to the pattern). I'm not very good at following written patterns; and admittedly, the finished product looks different from hers. It's still pretty though. The pattern called for starting with 180 stitches (or 60 inches). This would make the length of the scarf first. However, I did it the short way and just made more rows. Maybe that's why it looks different. To use the stitch in different sizes (e.g. for the short way across the scarf or for a baby blanket, or longer for an afghan), just start with a multiple of 9. I think I started with 27. Here are a couple pictures. The second picture below shows the colors more accurately.  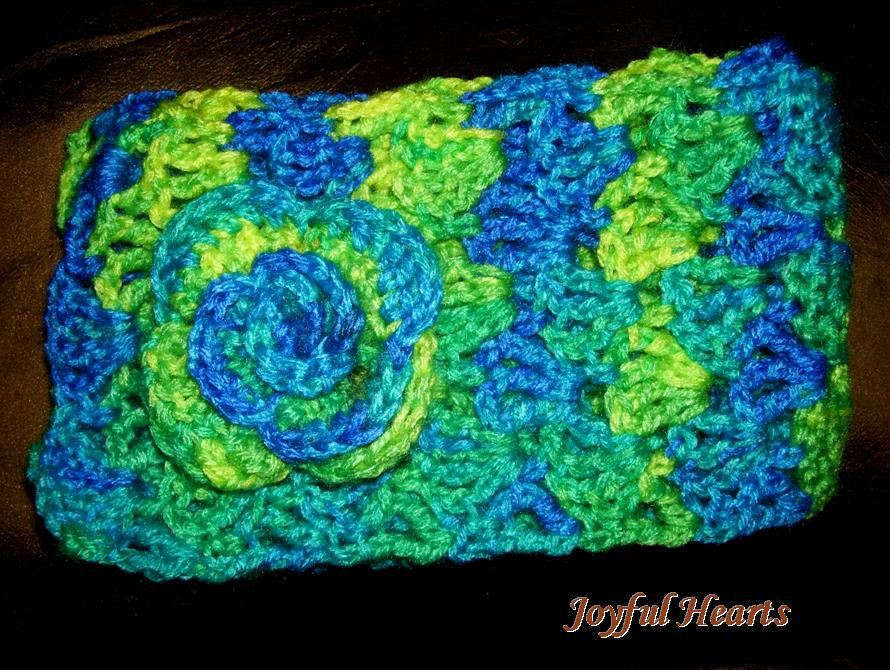 Sashay Yarn Embellished Shirt Red Heart Sashay is that really pretty lacy yarn often used to make ruffled scarves. Christy and I had each made a scarf some time ago, and Christy had some of her pretty pink yarn left over. What could it be used for? Why, to dress up a plain pink shirt! Applying the yarn to the collar and sleeves was not too difficult. I just sewed it on. The collar was a little tricky at the corner, and I'm not quite satisfied with it. Will have to do a little experimenting with going around the corners. :-) However, the yarn makes a nice little addition and gives a feminine touch to a plain shirt. 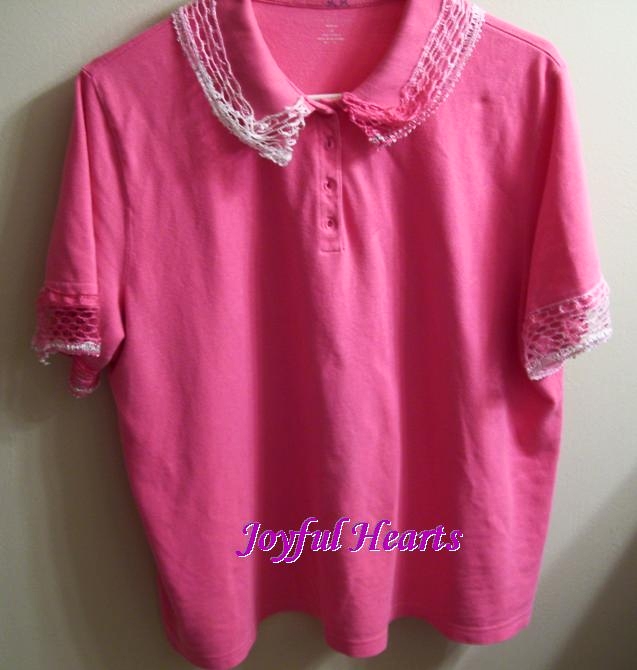 Thanks for stopping by our blog. I hope you enjoyed your visit. And that you have a Happy Memorial Day! It's been a good while since I did a craft roundup. Life has just been very busy, so crafts have put on the back burner for a little while. Hopefully now I can get into a little more regular schedule. Butterfly Stitch Purse One special blessing recently was an order to make a purse. The request was light colors and "not too big." I had a some liberty to pick stitches and so forth, so I went with a butterfly stitch. I used the stitch tutorial on mypicot.com for the idea, but adapted it to make the butterflies smaller and make them fit the project a little better. The stitch looks complicated but is actually fairly easy and also easily adaptable. The hardest part for me was doing the body and the antenna. First I made a sample of the stitch to see if I could do it. 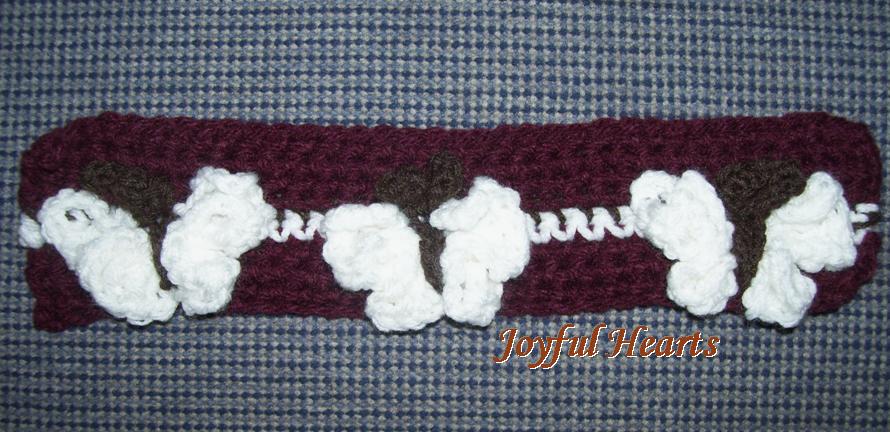 Then I put the stitch into practice on the real project. Here is the result. 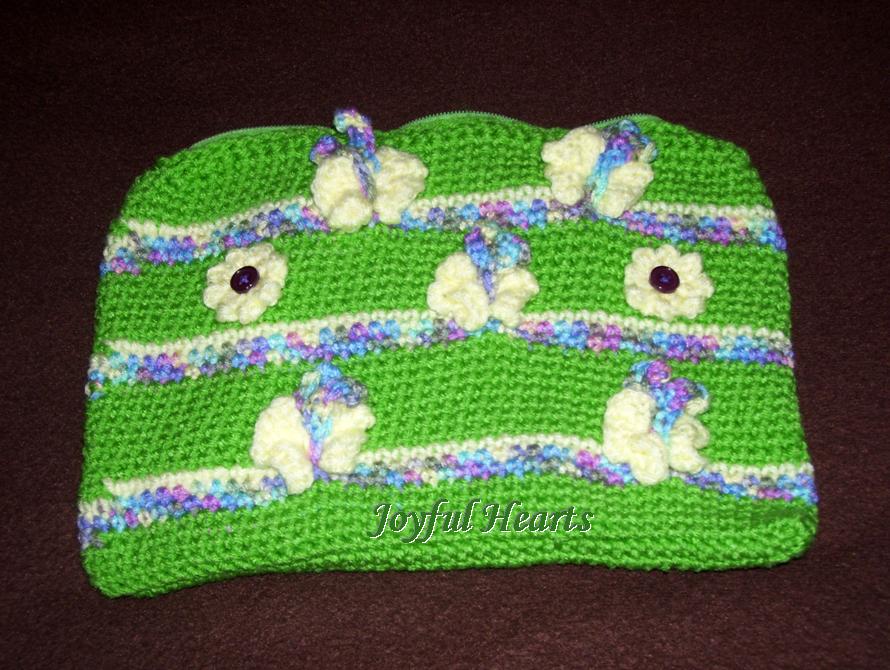 Yarn used in the purse is Red Heart Super Saver. Colors used are Pale Yellow, Spring Green, and Monet. The flowers are quite small, about 1 1/2 to 2 inches. Enclosure is a zipper. I discovered an easy way to put in a zipper. First make a chain and a row of single crochet. Then make another chain the same length and row of single crochet across that chain as well. Next, I sewed the chain/single crochet "strips" to the zipper. Then I crocheted single crochet all the way around, joining the two sides together. This solved two problems: (1) It made sewing in the zipper much easier; (2) Joining the two strips together by simply crocheting all the way around made the purse much smoother than increasing at each end. The purse isn't finished yet. The order also asked for pockets inside, adjustable strap, and a crocheted wallet. The adjustable strap and crocheted wallet are something I haven't tried before, so we will see how that goes. Stay tuned for an update! Thanks so much for taking time to stop by. The past couple of weeks the focus of the crafts has been decorating and making some storage items for the home. Bedroom I had some fake roses in some little pots. The pots had been painted pink, but the paint was old and chipping; so, I sanded them down. Was going to paint them to match the terracotta colored pot that holds my African violet but decided that they looked nice the way they were after they were sanded. The house we are in is nice, but in my bedroom and Christy's bedroom, there is an old fireplace. It is no longer used, so has been closed up with bricks. It didn't add much in the way of visual appeal, so it got a "facelift." First I found a sheet that matched the theme of the room, which is "butterflies and garden." This was folded and put up to cover the bricks and the mantle of the fireplace. Tacks were used to hold it in place. Then the African violet was placed in the center of the mantle, two cute round salt and pepper shakers were placed on either side of the African violet, and then two pots of roses to the outside of each of the shakers. The salt and pepper shakers were not that practical for the kitchen, but they were really cute. Each one looks like a little ball of blue yarn and has a button and a heart on it. (Sorry I didn't think to get a closeup of them). A cute little pillow that says "Bless our Garden" was hung up over the African violet. Here is a picture of the mantle as it looks now. 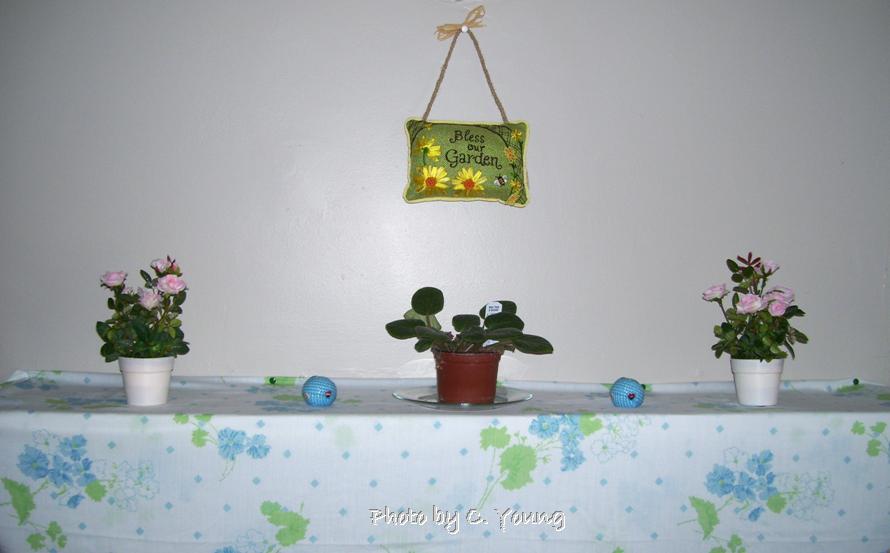 A special gift from a friend was a pretty, small, yellow hand towel that says "plant, grow, bloom." It doesn't match either the theme of the kitchen or the bathroom, but it does match the garden theme, so I hung it below the glass butterfly next to one of the craft shelves. 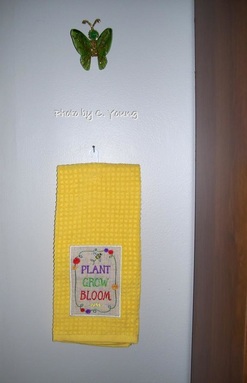 Craft Area In the craft area, I was in need of some more storage containers so used some decorative tape and some things we already had in the house to make them. Some little divided trays were made from facial tissue boxes. 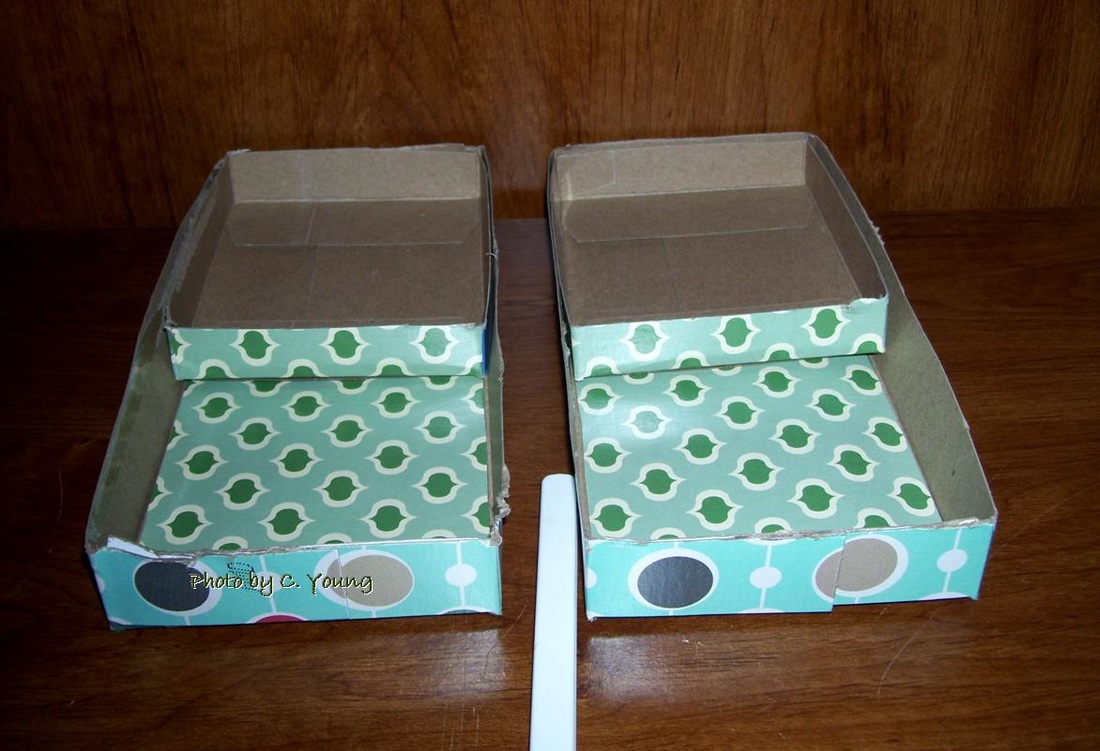 These two storage boxes were made from a soymilk carton and an orange juice carton. I just cut the cartons to the height I wanted them and then washed them out well with soap and water and dried them. Then I covered the outside with decorative tape. One stores my scissors, and one is still waiting to have items put in it. I did make a small divider inside the blue box with a toilet paper roll and covered the outside of the toilet paper roll with the fancy tape as well. 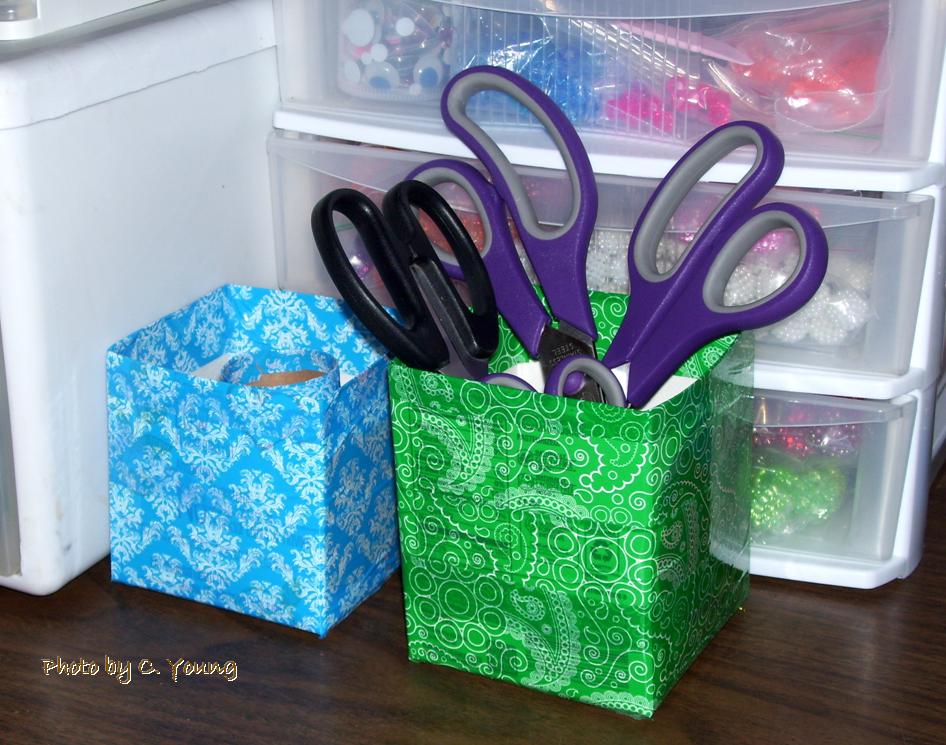 And that's my craft roundup for this week. Thanks for stopping by. I hope you enjoyed it. Have a great weekend! |
Archives
August 2022
Categories
All
Ways to Earn and Save
Try ShopAtHome for cashback when you shop. Visit the site for more info.
 Southern Savers is a great place to keep up to date on coupons and deals.
Join Swagbucks and earn money for searching the internet, answering a Swag poll, and doing other fun things each day.
 This video by Gospel for Asia about Christmas has a message that reaches right into the heart and makes us think. |
||||||||||||||||||||


 RSS Feed